Note
The default account of webOS OSE devices is as follows. (ID: root, password: none)
The default account of webOS OSE devices is as follows. (ID: root, password: none)
This guide describes how to set up the network on the webOS OSE device.
webOS OSE sets the network information automatically when you use Dynamic Host Configuration Protocol (DHCP). So you don’t need to set up additionally.
Depending on your environment, however, you may need to check if the automatic configuration has been performed correctly. Otherwise, you will need to configure the network information manually. In this case, see Setting Up Wired Connection (Static).
Before you begin, prepare the followings information about your static network:
Then, follow the steps below to configure the static network. Make sure that the Ethernet cable is connected beforehand.
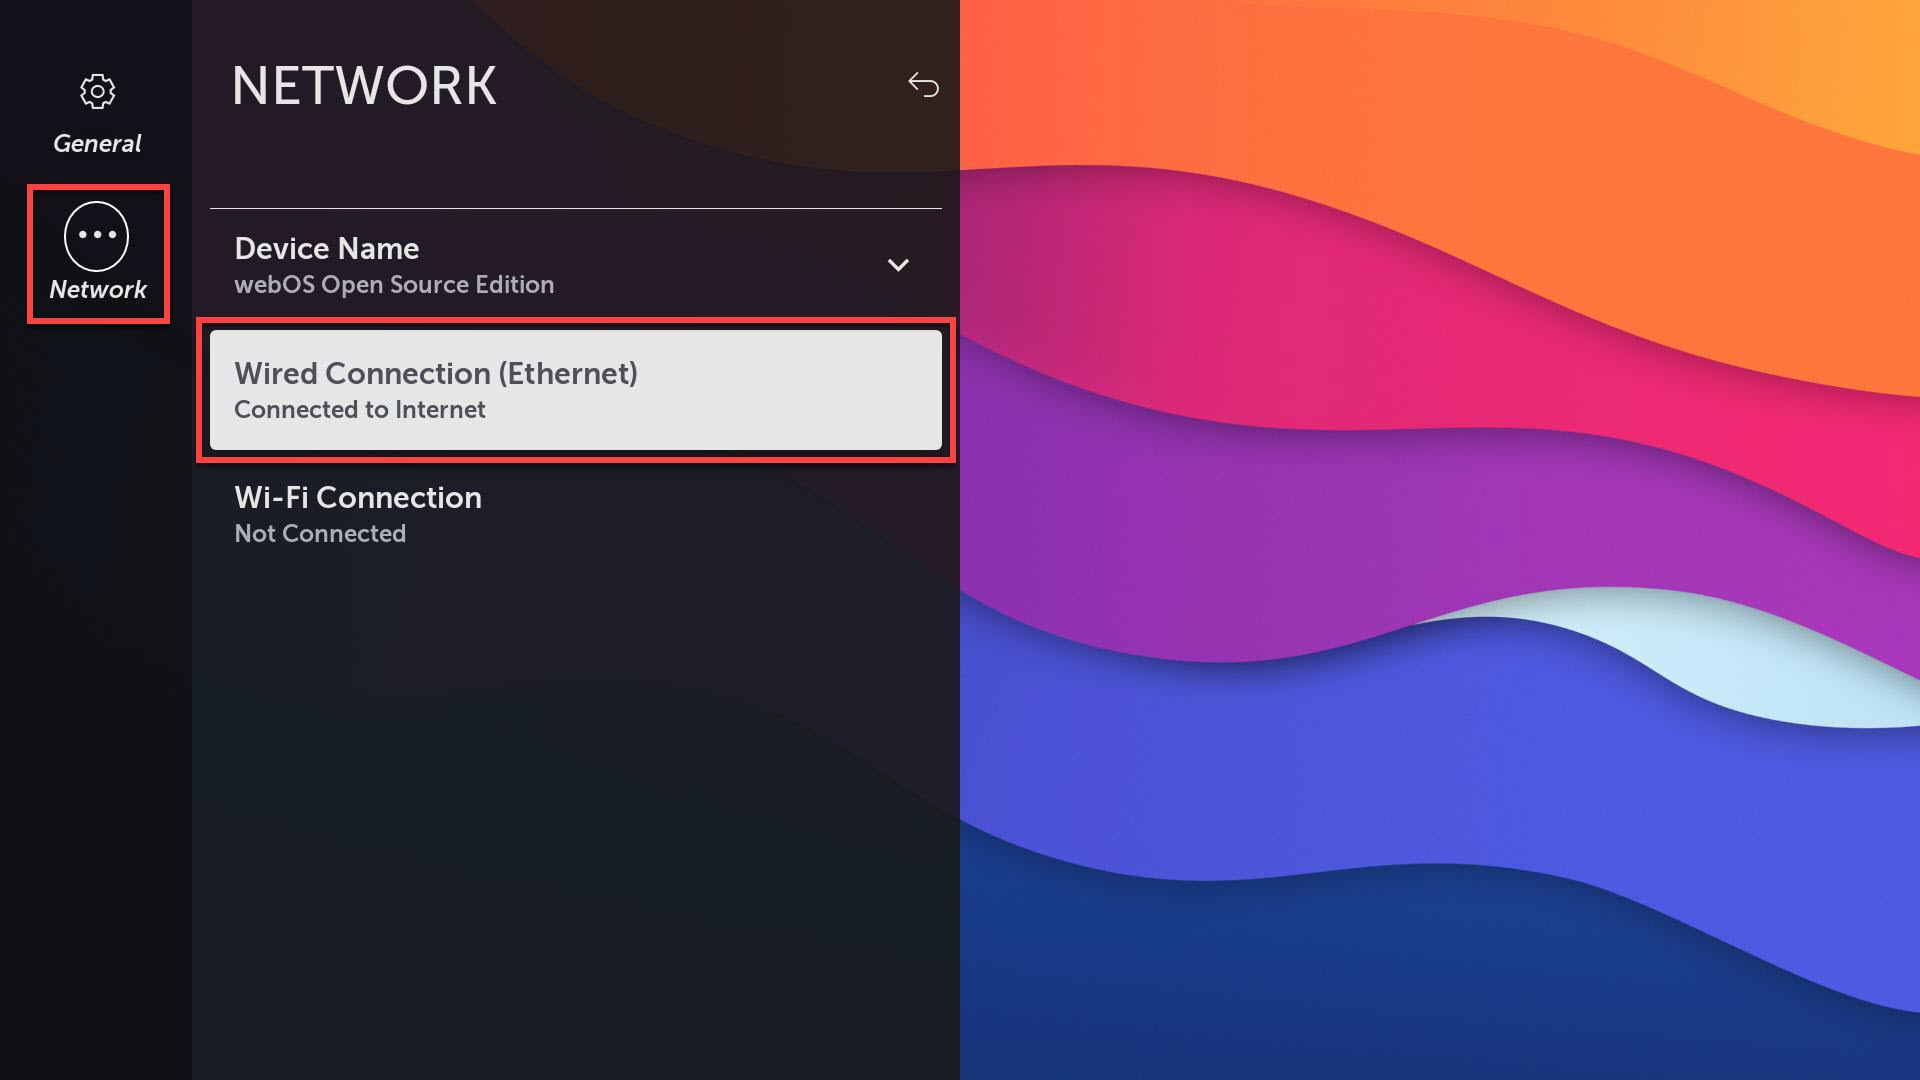
Click the Settings Application or press the F1 key.

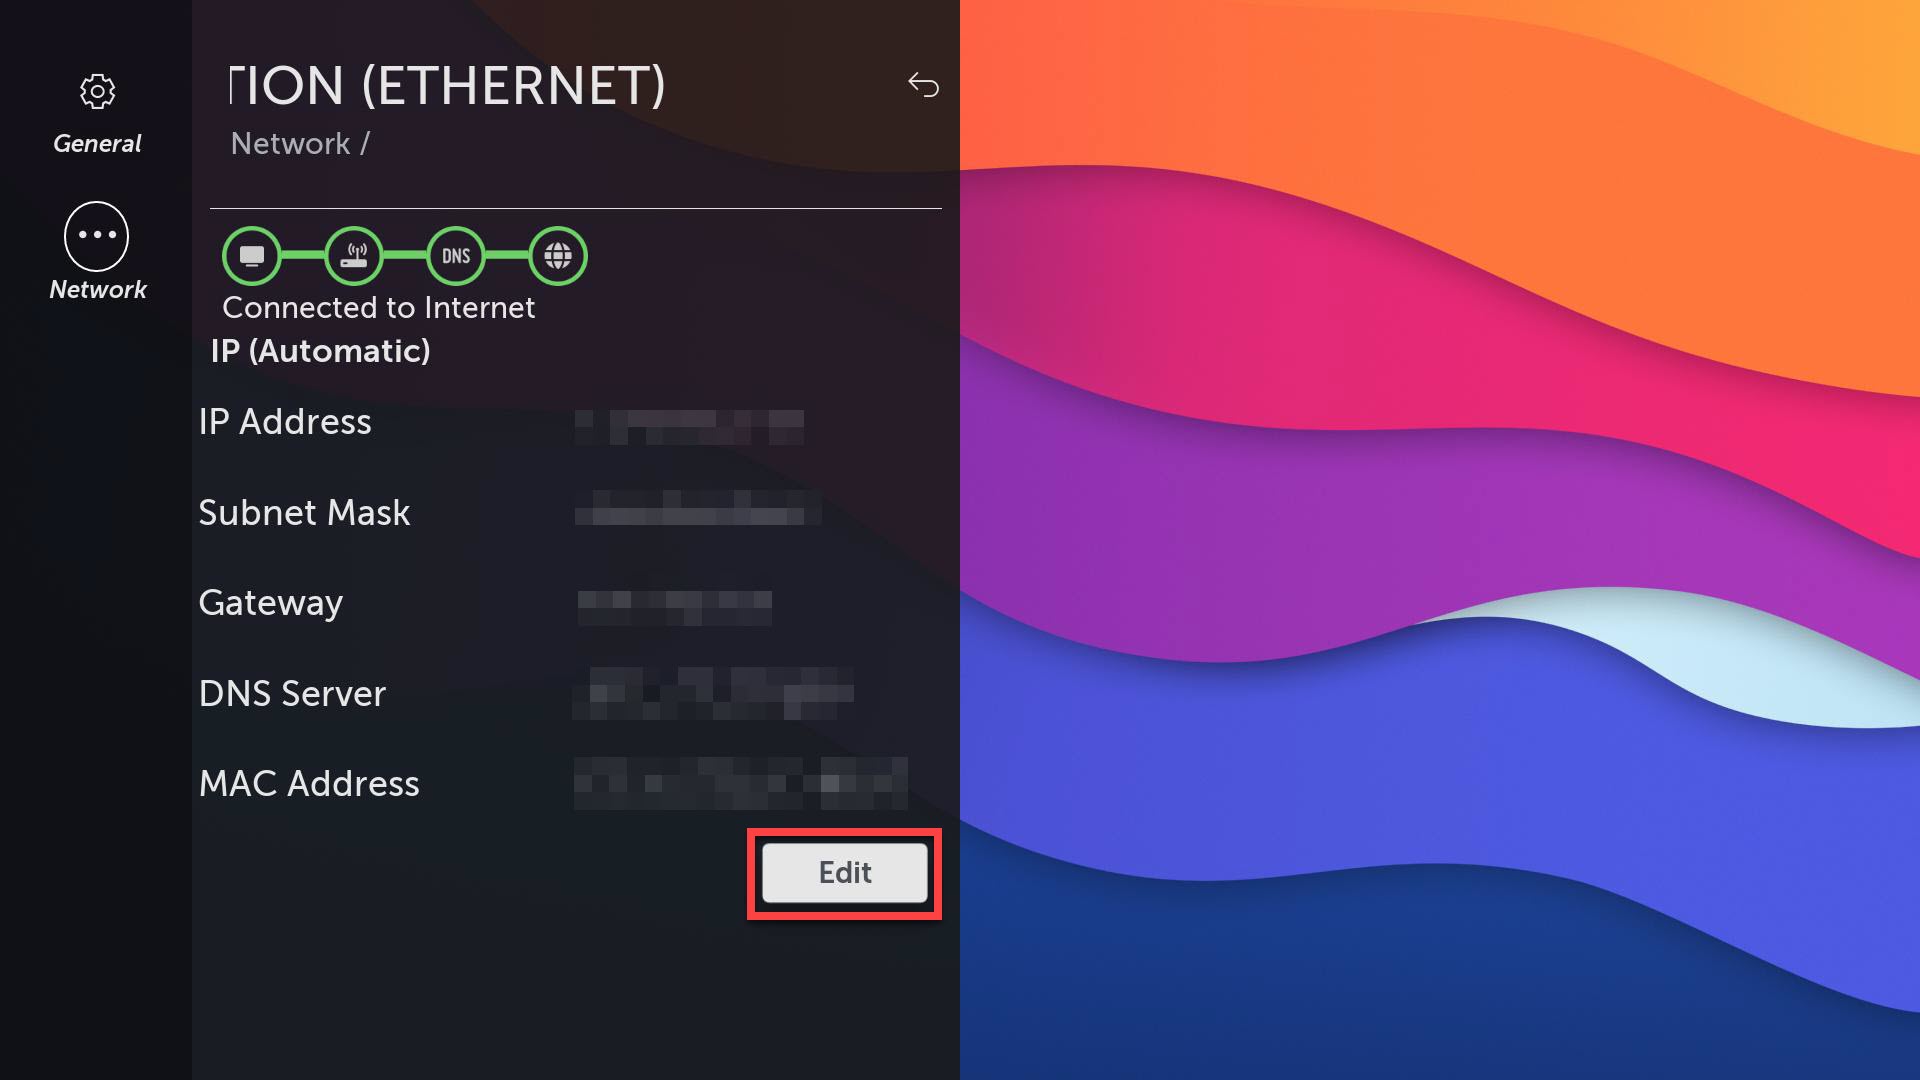
Go to Network > Wired Connection (Ethernet). The default network information will be displayed.
Click the Edit button.
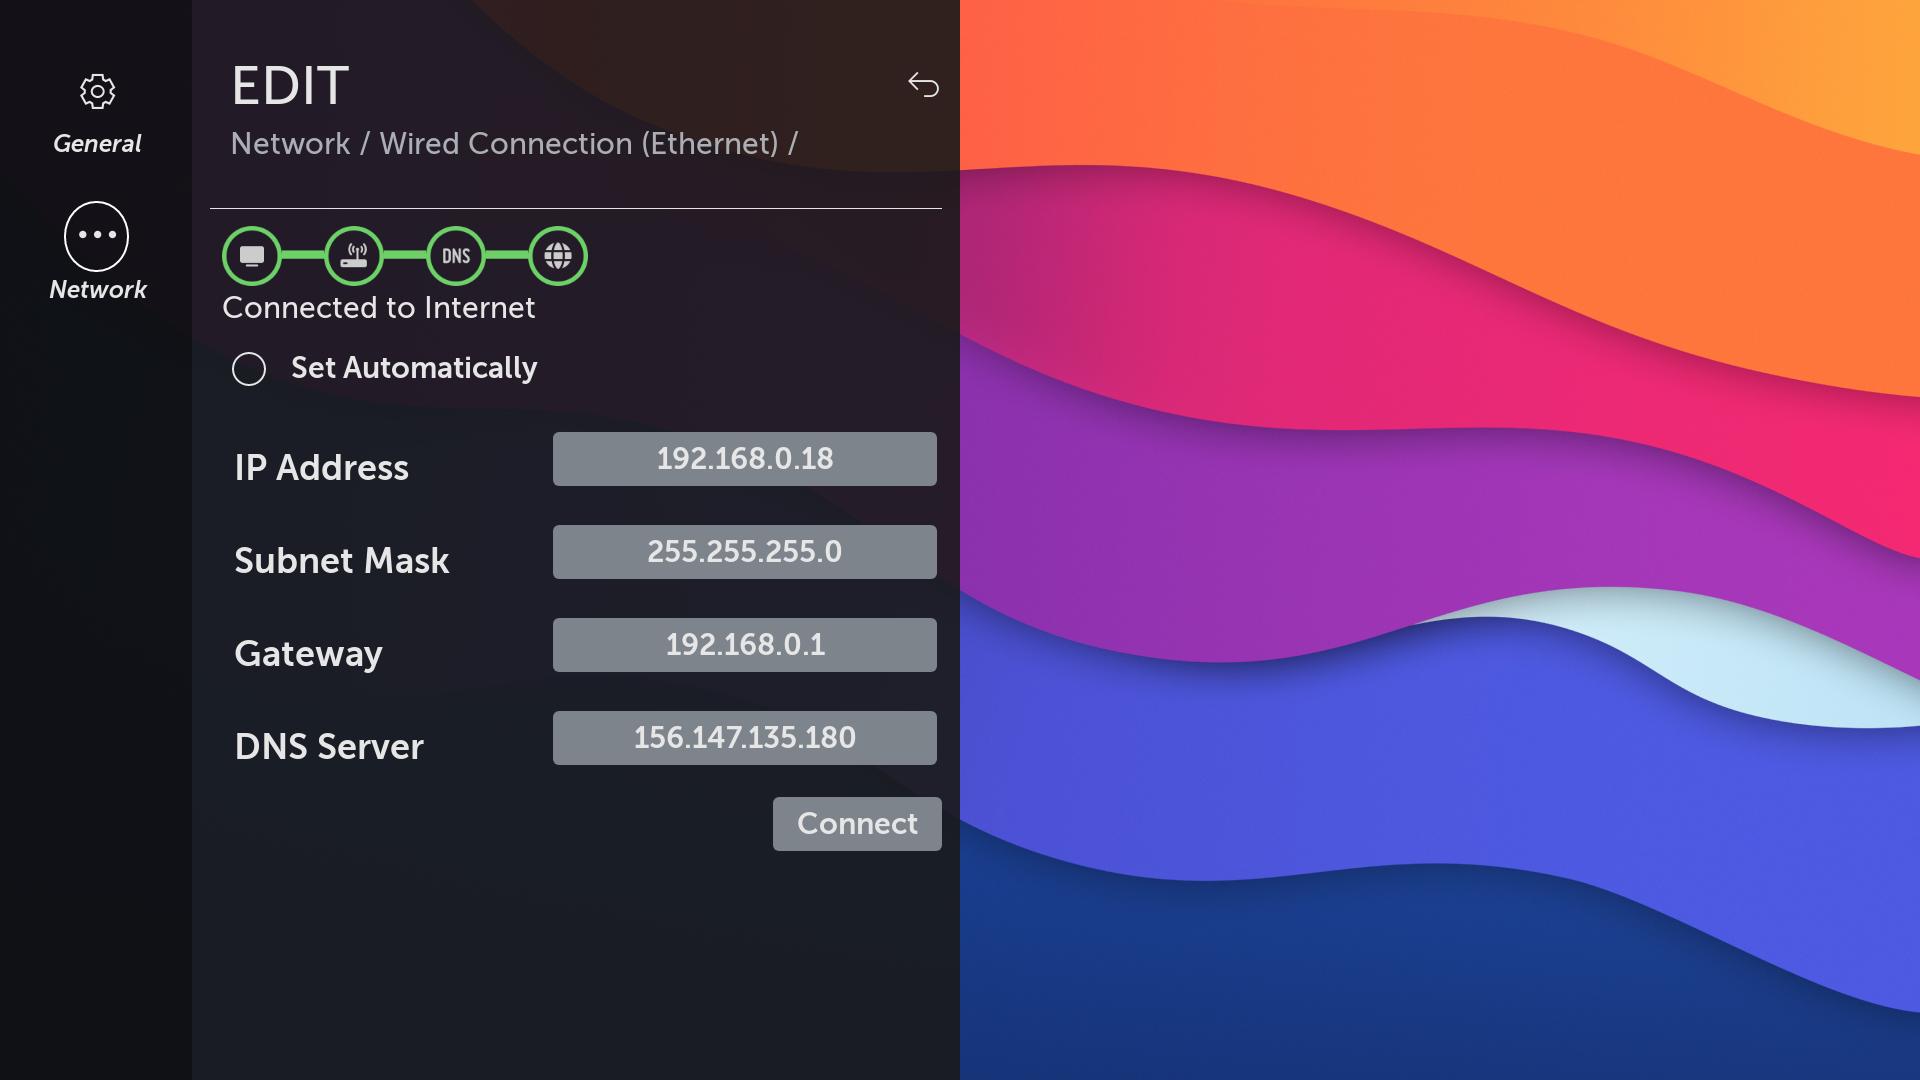
Deactivate the Set Automatically button. Then input fields will be activated.

Enter the information of your network and click the CONNECT button.
Click the Wi-Fi icon in the status bar.
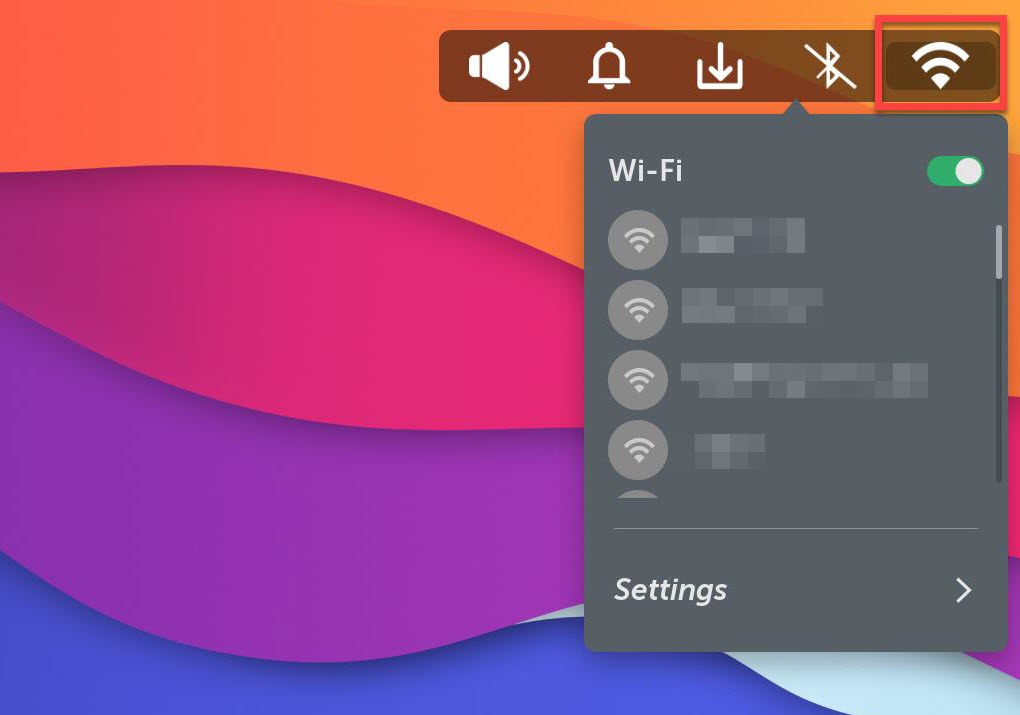
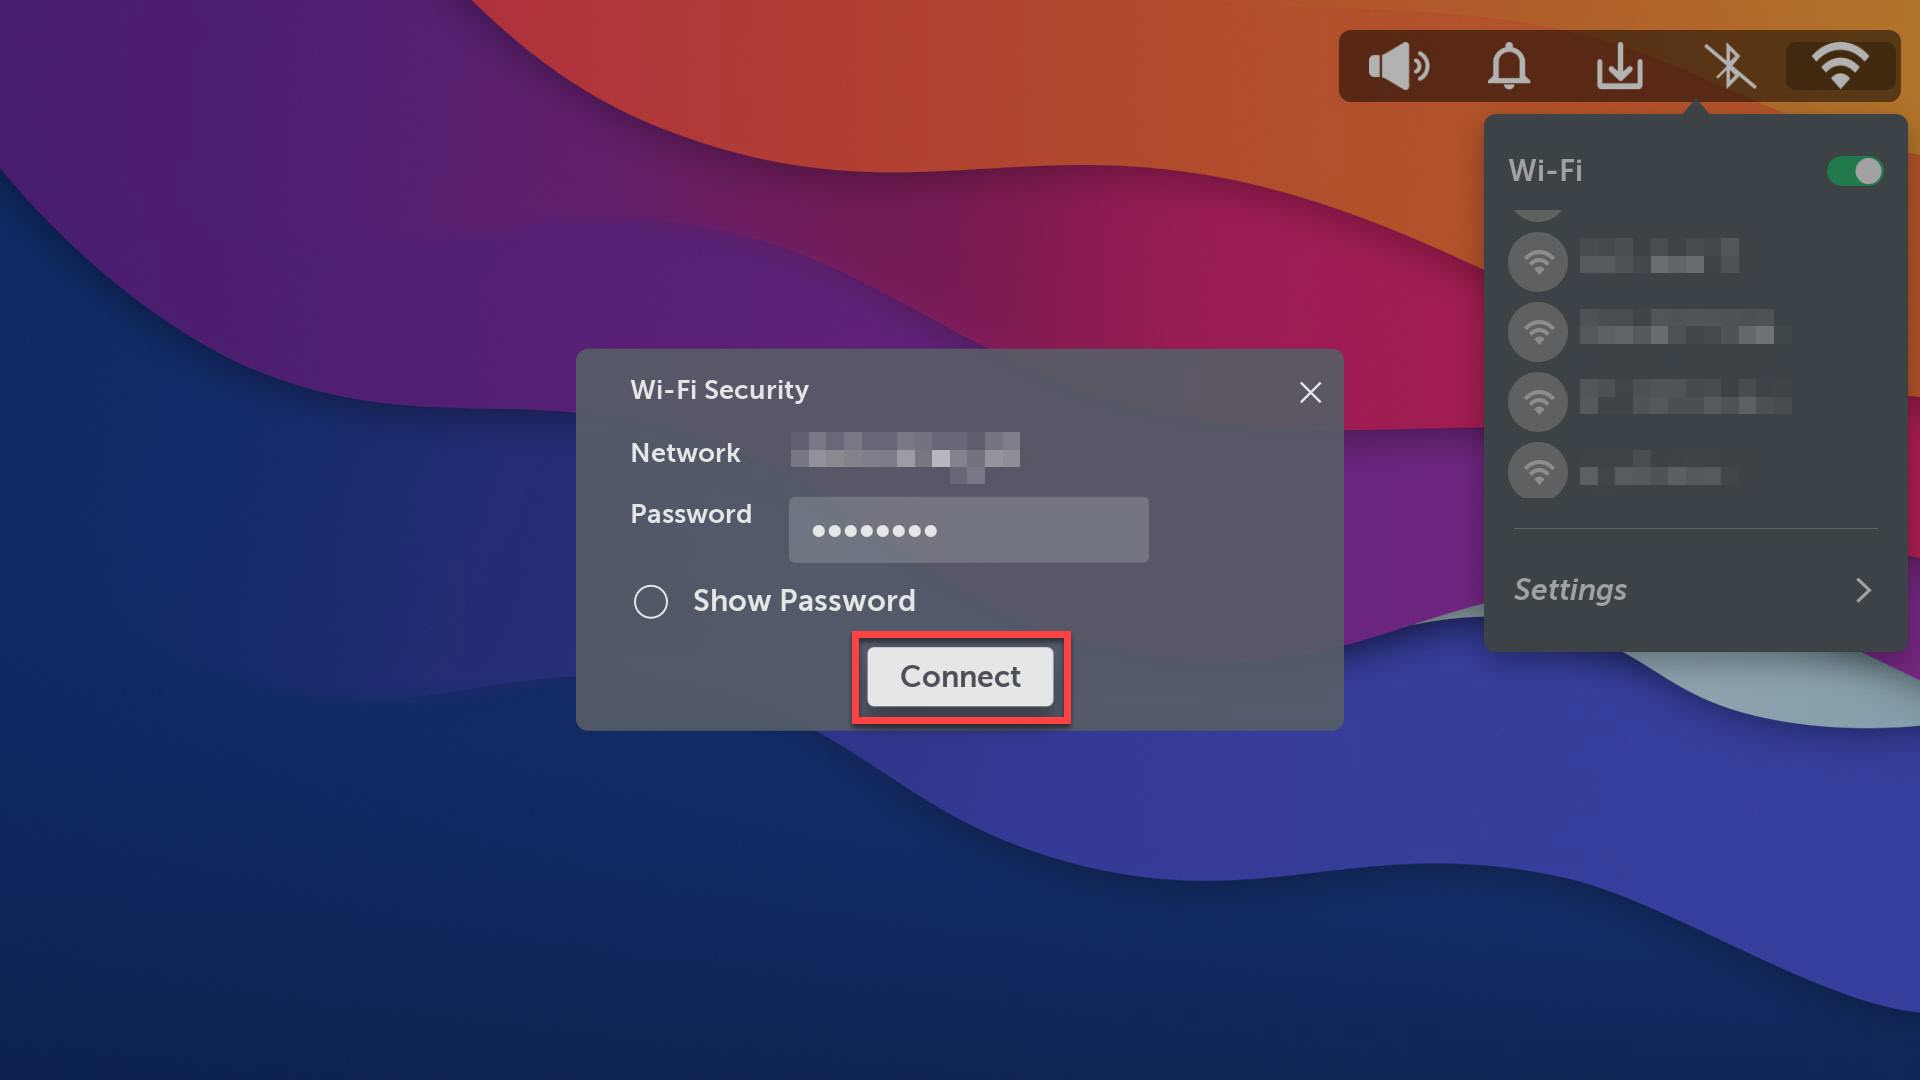
Click the Wi-Fi you want to connect, enter the password, and click the Connect button.
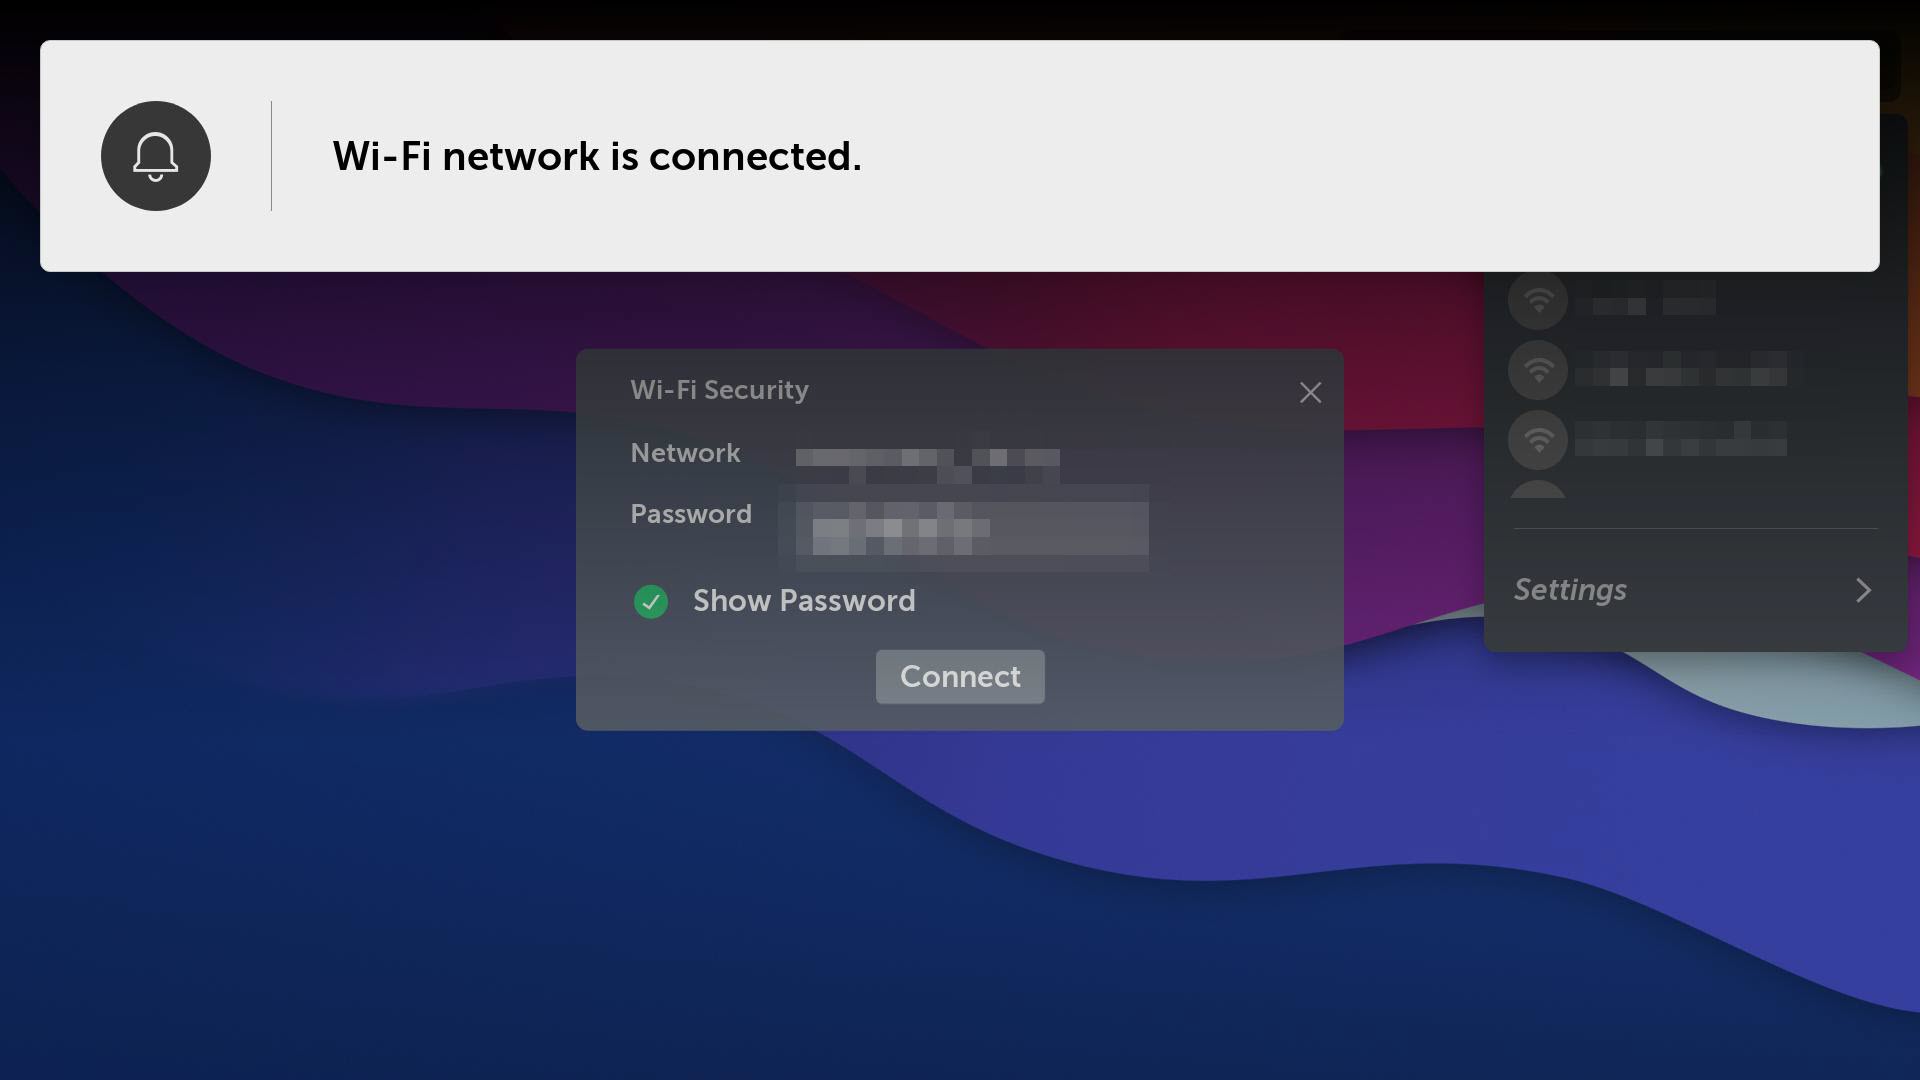
If the connection suceeds, a notification shows up.
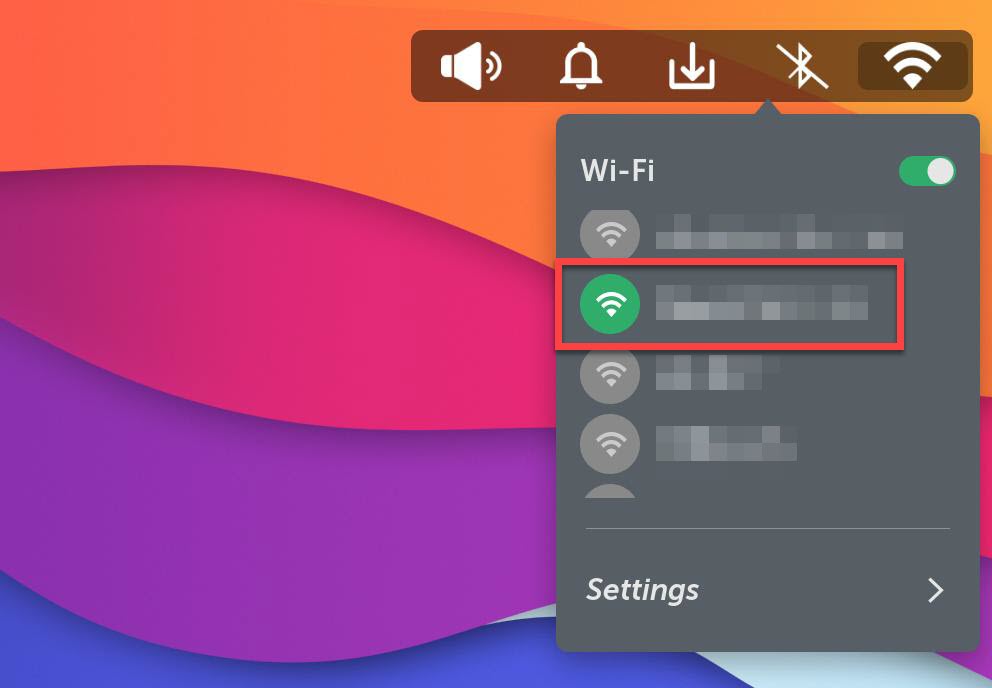
Go back to the Wi-Fi menu in the status bar. You can see the connected Wi-Fi in the list.
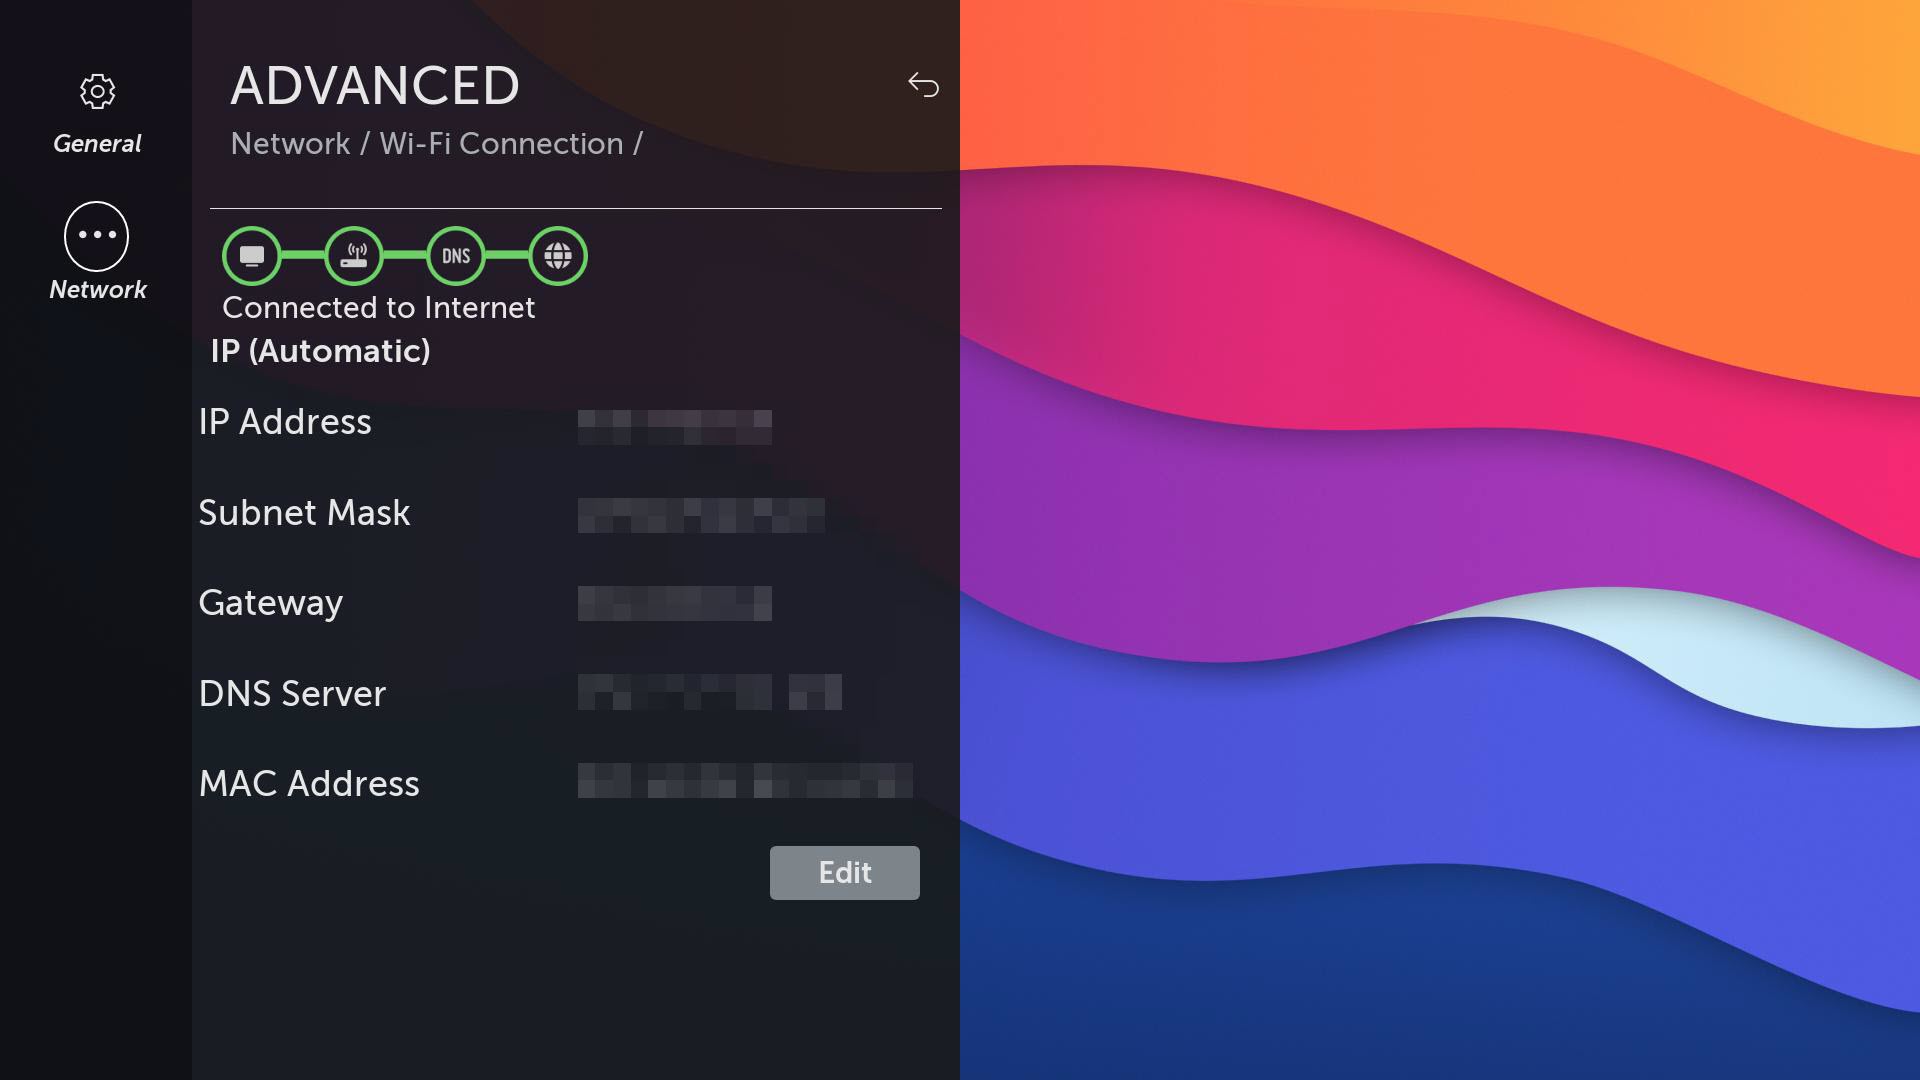
Further network information of the connected Wi-Fi are at the Settings application > Network > Wi-Fi Connection > Advanced Wi-Fi Settings.
Go to the Settings application > Network > Wi-Fi Connection > My Wi-Fi. You can see the list of Wi-Fis you ever connected.

After the network connection has been set up, you can connect or send files to the webOS OSE device.
Choose one the following guidelines:
ssh command on Linux or macOS shell to connect to the device. On Windows, use an Secure Shell (SSH) client (for example, Putty).scp (secure copy) command on Linux or macOS shell to send files to the target device. On Windows, use Secure Copy Protocol (SCP) programs (for example, WinSCP).Contents